Showing posts with label comfort food. Show all posts

Friday, March 2, 2012

Vegan Coconut Lemon Bundt Cake - made with dates

This is one of those recipes that helps you to know that you never have to go back to eating refined sugars. This cake is really, really, really good. (Did I mention that it is really good?)

I tweaked this recipe from the cookbook, Veganomicon by Isa Chandra Moskowitz. She is an amazing vegan chef, by the way. If you ever come across any of her recipes, give them a try!


Vegan Coconut Lemon Bundt Cake - made with dates

1 2/3 cups pitted medjool dates
2/3 cups coconut oil (use virgin to add to the coconut flavor)
1 (14 oz. can of coconut milk (reg or light - both work)
1/4 cup almond milk (unsweetened)
1/3 cup lemon juice
3 Tblsp finely grated lemon zest (really helps bring out lemon flavor)
2 tsp vanilla extract
2 3/4 cup whole wheat pastry flour
2 tsp baking powder
1 tsp baking soda
1 tsp sea salt
1 1/2 cups unsweetened shredded coconut

Preheat oven to 350F. Light grease bundt pan.

In blender blend dates, coconut milk, coconut oil, almond milk, vanilla, lemon juice until smooth.

In large bowl whisk together dry ingredients with the lemon zest. Add the blended wet ingredient. Fold in shredded coconut.

Pour batter in pan and bake for 1 hour or until knife inserted in cake comes out clean.

Remove from oven and let cool for 10 minutes and then remove from pan.

Friday, February 24, 2012

Applesauce Date Pancakes

I have been toying with this recipe for a while. I finally got it right. Everyone loved these. I make these in my blender. Super easy. The best thing is they don't need syrup!


Applesauce Date Pancakes

1 1/4 cup almond milk
3 medjool dates, pitted
1 egg
2 Tbsp unsweetened applesauce
1/2 tsp salt
1 cup whole wheat flour
2 tsp baking powder

** Blend the dates with the milk first to get the dates really pureed. Then add all other the other ingredients in order and blend them up all together.

This recipe makes about 18-24 mediumish pancakes.

Tuesday, May 31, 2011

A compromise - no bake chocolate rice crispy treats

So a few weeks ago my sister-in-law and her six boys came to visit for a week and a half. Yes, I said six boys. And you know what? It was awesome! We used paper plates the whole time (sorry Earth), My SIL and her boys did my dishes the whole time (my kitchen has never been so consistently clean) and the younger boys played with my girls the whole time. I actually had more free time because they took over all my jobs for me. It was awesome. Plus they are a really fun family so it was great. I was a little nervous about what to feed them. I made them some of my vegan recipes and I got thumbs up on most of them. The one issue we had was the lack of sweets in my house. One of my nephews ( I won't name names) was convinced he was having headaches from sugar withdrawals. It's called detox, buddy!!  :) At one point they were skyping with some of their other cousins and one of my nephews shouted out (kind of in a panicky, help me voice) "They have no sugar here!!!"

But I did make them sweets. I am not totally mean. I made them fudge balls and chocolate smoothies and this recipe from Greensmoothie girl:


No Bake Chocolate Rice Crispy Treats

1 cup almond butter, peanut butter, or sunflower seed butter ( I usually use peanut butter)
1/2 cup raw honey or agave
1/4 cup ground flaxseed
1/4 cup cocoa powder
1/4 cup coconut oil
1 Tbsp vanilla
1/4 tsp sea salt
6 cups puffed brown rice ( can find at health food stores)

Cream together wet ingredients in large bowl by hand. Add flaxseed, cocoa, salt and blend. Add crisped rice and stir until evenly mixed.

Spread onto greased (with coconut oil) 9x13 pan. Then put in freezer for at least 30minutes. Cut into squares.


** This recipe is a compromise recipe to me because I really only want to use dates for sweeteners but sometimes my girls want more so I make these. I have also been known to let thme eat this as cereal in the mornings. Sometimes...Not all the time...

Friday, May 13, 2011

Weigh in, keeping track, and sweet potato fries

So I weighed myself this morning and I lost 3 pounds last week. I am very happy. So far I have lost 14 pounds. I am almost to my goal weight but I would like to go even lower. We'll see. It is kind of boring to talk about my weight so much so  I will stop.

So last week I kind of threw out the challenge of keeping a food journal. Did anyone do it? I did, although not faithfully the whole week. But I will tell you, keeping a journal really keeps you honest with yourself and helps you to realize a lot of things about your eating patterns.

So here is a sample of one of my days last week. I could do the whole week but that would be boring and long to type and I am a bit lazy. So there you have it.

Friday May 6 I ate:
Breakfast - oatmeal with almond milk and a banana
Lunch - Green smoothie, green salad with hard boiled egg
Dinner - stuffed grape leaves, Caesar salad, and some kale chips

 As I was looking back at my journal I realized that I actually didn't do a great job keeping track all week. So I am going to renew my efforts this week. and I renew my challenge to you: keep a food journal for one day. You can do it!!

Anyhow here is a yummy and easy recipe:


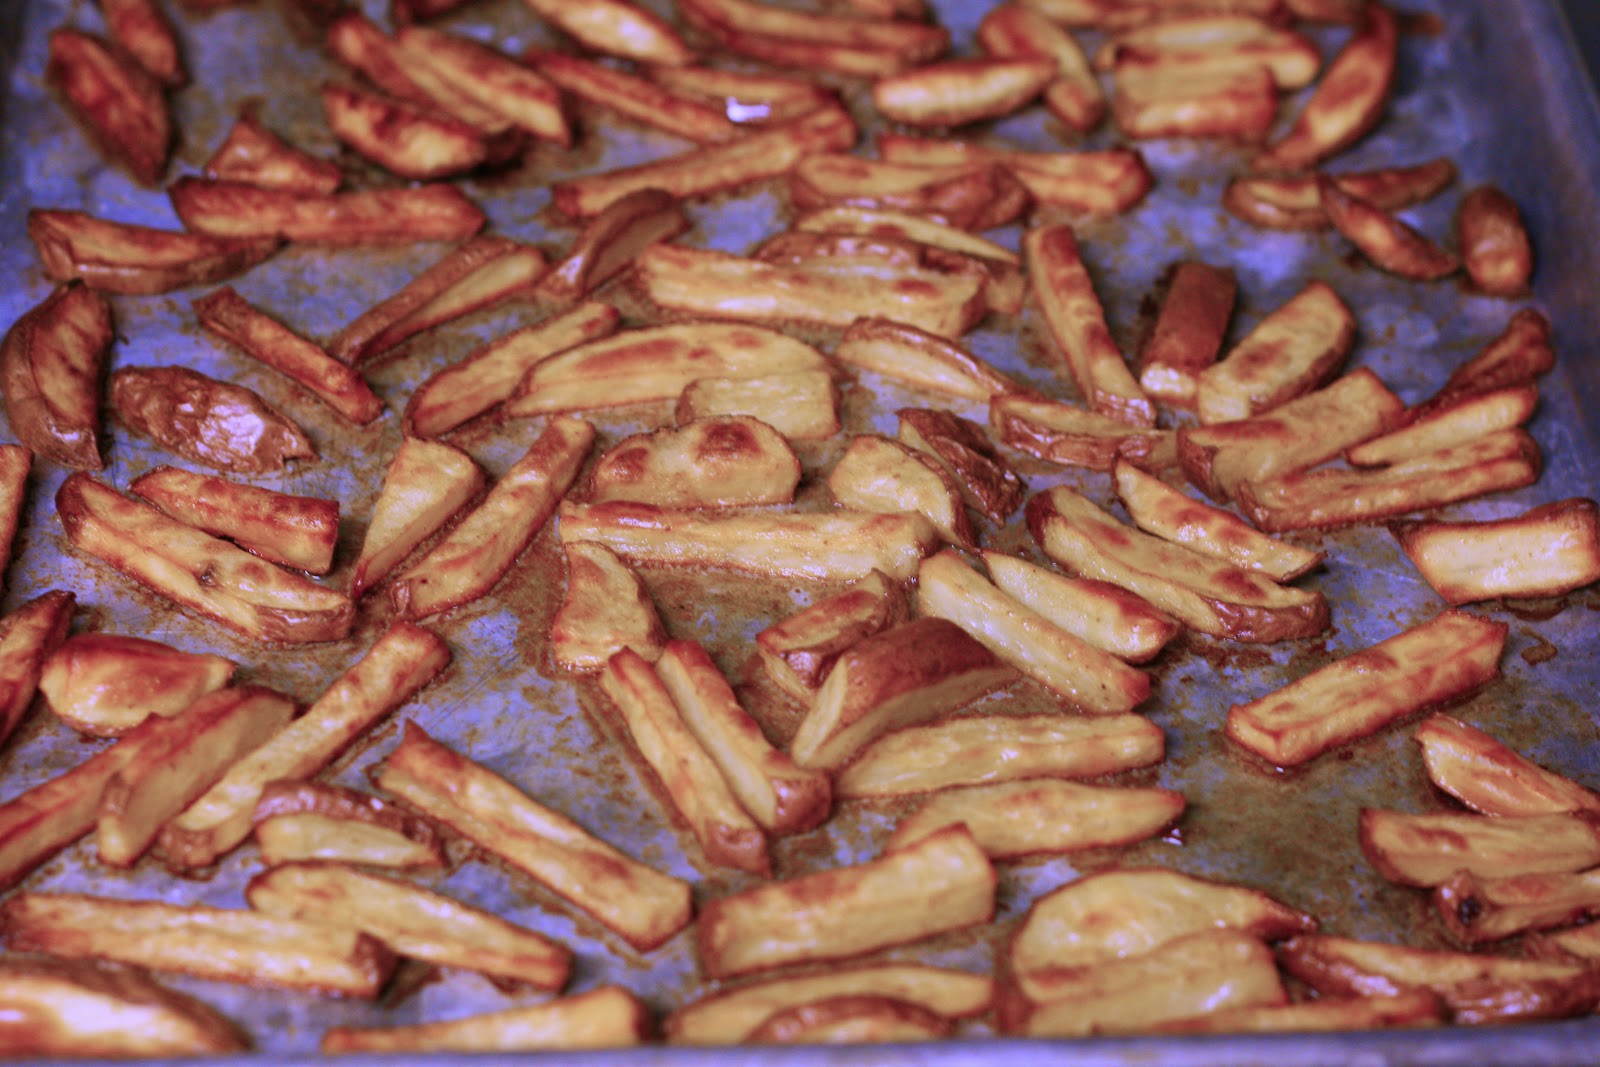
Sweet Potato Fries

5 - 6 sweet potatoes, sliced like fries
1/4 cup coconut oil
1 tsp sea salt

Put the oil and salt in a large zip lock bag and mix up. Then dump in sliced fries and mix up with the oil. Bake on a oiled cookie sheet at 425 degrees for 20 - 30 minutes. Flipping once during cooking time. You might want to cook them longer if you like them really crispy.

* The coconut oil is really yummy with these!

Wednesday, May 11, 2011

Variation on a Theme: Oats for breakfast

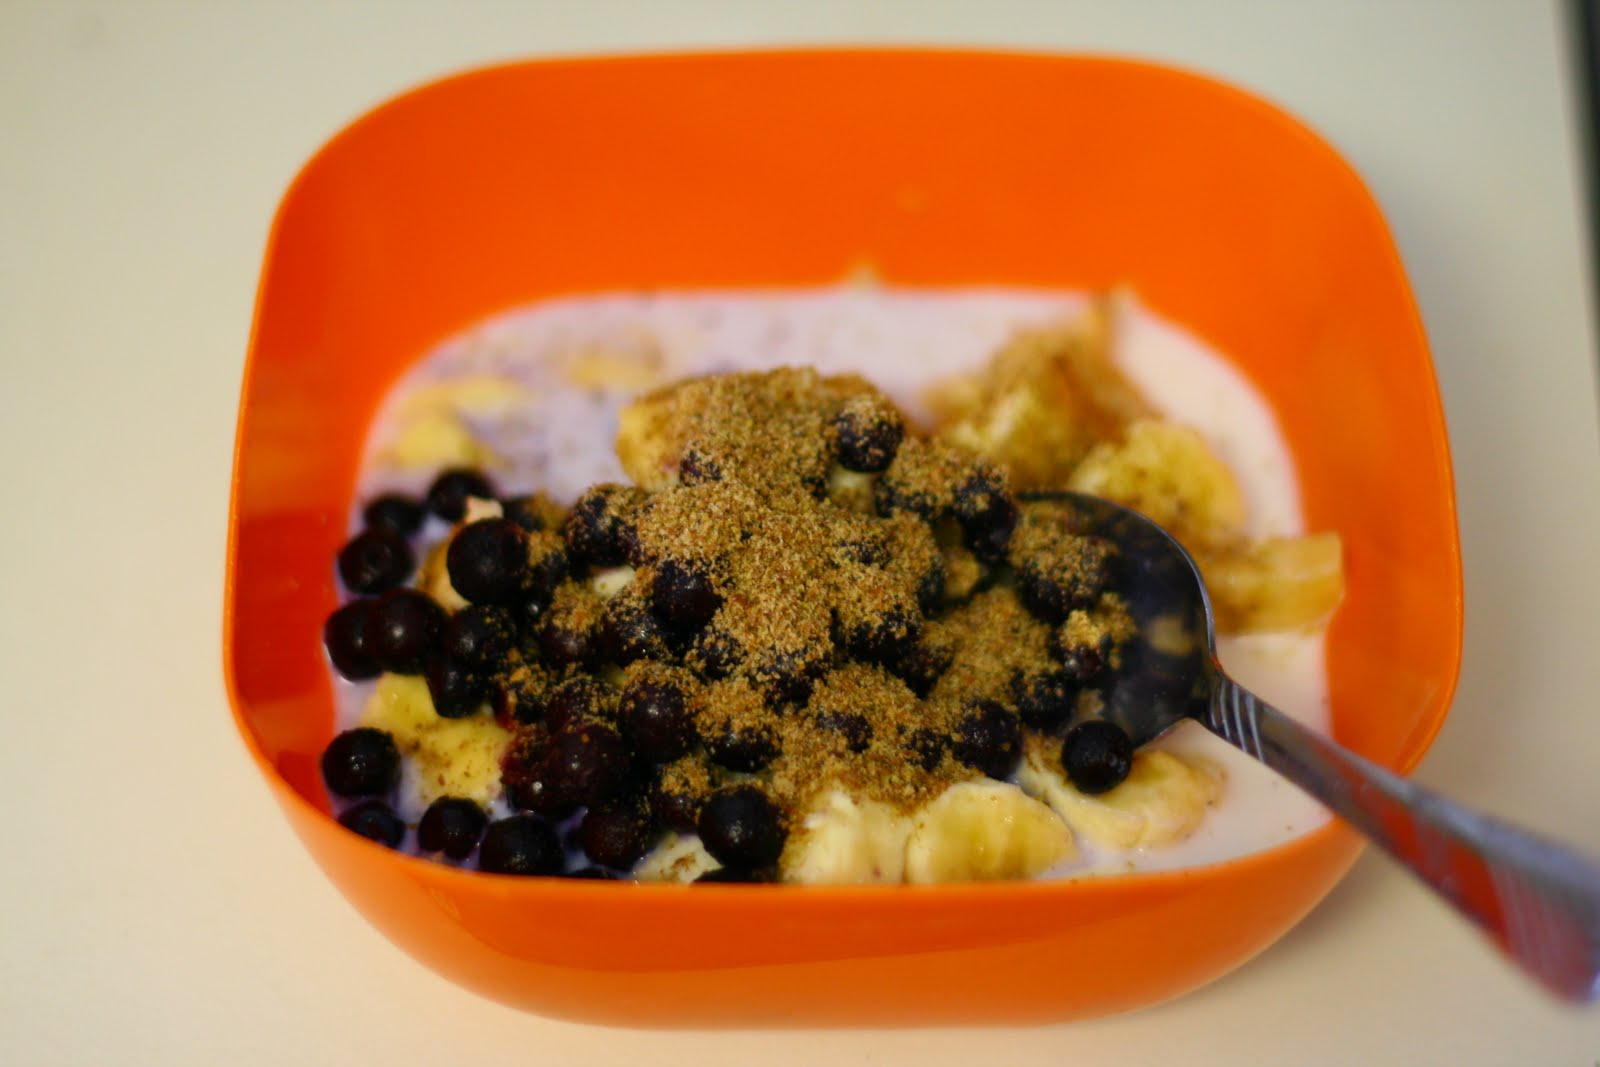
I eat some form of oats almost every morning for breakfast. Boring, you say? Easy, I say. Breakfast is the one meal of the day I don't have to put too much thoughtinto (not to mention time.) And oats are great for you. So here are 3 ways we do oats at our house.


1. Rolled oats - or old fashioned oats. You can get these at any store. Don't get quick oats - they are even more processed. You can do these on the stove top or just microwave an individual serving. I think a key to good tasting oatmeal is putting in a bit of sea salt.


2. Steel cut oats - even less processed than rolled oats. You can get these at most stores. I think it is more cost effective to get from the bulk bins. We do these on the stove top. The proportions are 1 cup oats to 2 cups water. Add water and oats  and a few dashes of sea salt to a pot. Bring to a boil and then turn off the heat. Cover the pot and leave it on the burner. Let sit for about 20 minutes or until most of the water is absorbed.


3. Raw Oat Groats - the least processed. We get these in the bulk section of the health food store. Soak these over night. In the morning rinse them in a fine mesh strainer. Here is the recipe:

1 cup oat goats
3/4 cup water
1/4 cup pitted dates
few dashes of sea slat.

Blend.

All of these taste great with almond milk and whatever else you like. But try not to add any other sweeteners. Oats taste great with bananas, strawberries, blueberries, flax meal, nuts, cinnamon, etc...

Friday, April 15, 2011

Warning: Make these at your own risk, Peanut Butter Oatmeal CooKies

We have been planning the refreshments for my daughter's upcoming baptism and I really feel this need to have everything be healthy since I kind of  present myself that way. It has been kind of stressful coming up with idea that would be healthy, quick, appealing, not messy etc... So E wants to have cookies at her baptism and I said that I would make some. She said she wanted store bought. I thought she was crazy. I mean who thinks store bought cookies taste better than fresh homemade?? I tried to convince the kids that homemade was better but they did not believe me. So we did a taste test. And one of my hypotheses was confirmed...

My children ARE crazy! They thought the store bought cookies tasted better. So I agreed to buy some for the baptism. Hey, that is less work for me. But of course none of this stopped them from scarfing down all the homemade cookies I made. I mean these cookies I made were awesome so it just proves that my kids' taste buds are whacked.

So here is my recipe for


Peanut Butter Oatmeal Chocolate Chip Cookies.

First Mix: (I used a hand held beater)

1 Cup natural peanut butter
1/2 Cup butter or refined Coconut oil (if you use the virgin coconut oil it will interfere with the peanut butter flavor)
1 Cup organic brown sugar (healthy stores and some grocery stores will carry this)
1/2 Cup Sucanet (evaporated cane juice, ditto about where to find it)

Then add:

2 range free eggs
1 tsp. of no alcohol vanilla
2 Tbsp of favorite nut milk, or cow's milk if you want

Stir in:
1 1/2 Cups Whole Wheat Pastry Flour
1 tsp. baking soda
4 shakes sea salt

Finally add:
2 Cup regular oats
1 Cup chocolate chips

Bake on ungreased cookie sheet at 350 for 10-15 minutes. Makes about 4 dozen

** I haven't had "real" cookies in the house for a long time and they sorely tested my will power. I must admit the cookies won, hence the warning!

Monday, February 28, 2011

Burgers and Fries - a healthy version

This  past weekend my family and I went to the mall to do some shopping. We ended up eating at the food court which is always kind of a gross experience. My kids ate Chick fil-a, I had tuna sub from Subway and my husband had a Philly cheese steak sub. We all indulged in Wendy's new "Natural cut fries with sea salt."

See, we are not perfect at healthy eating. Eating out, especially when you want fast food is hard. And to be perfectly honest some times I just feel like eating bad food. I am still trying to get over my tendency towards emotional eating and overcome our addictions to bad, processed foods. It is a journey and a long one. 


So when we are at home and we get a craving for some "junk food" I make this version of burgers and fries that really are even better tasting than what you can get at a fast food place with none of the guilt.

The burgers are these veggie patties we get at Costco.


Bake them up in the oven at 400 degrees for about 10-12 minutes.
Serve on whole wheat bread, buns, or skinny buns.
Serve with ketchup, mustard, whatever
Add lettuce, tomato, sprouts, avocado, whatever sounds good. To me the avocado is really what takes this burger from good to great.

The Fries come from a recipe I got from my sister, Jen. I changed it a bit. To see her original recipe click here.


A lot of times we will eat this all with a salad or a green smoothie.


Monday, February 21, 2011

Do you like Indian Food? - Vegan Korma

The first time I ever ate Indian food I had this really bad experience which involved stomach cramps and running for the bathroom. But through the years I always wanted to give Indian food another chance. A few months ago we went out to an Indian restaurant with some friends and I had another disappointing experience. I had a hard time finding a vegan dish that looked appealing. The dish I ended up ordering was so spicy I couldn't eat it. When it comes to spicy I am a bit of a wimp. My husband, on the other hand, got a really delicious creamy dish and I was feeling very jealous.

Since then my husband has been begging me to learn how to make Korma for him. I found this vegan version on the Post Punk Kitchen blog. I changed it quite a bit, making it not so spicy. If you want to see the original version go here.

Here is what I did:

For the cream:
2 cups raw cashew pieces (plus water for soaking)
2 cups vegetable broth


Veggies to boil:
1 pound red potatoes (1 1/2 inch chunks)
1 head cauliflower in large florettes (don’t cut em too small or they will fall apart)
1 lb carrots, sliced on a bias 1/2 inch thick


Puree:
1 medium sized yellow onions
1 inch nub of ginger
4 cloves garlic

Everything else:
3 tablespoons peanut oil
1/2 tablespoon coriander, crushed
1/2 tablespoon curry powder

1 teaspoon garam masala
Fresh black pepper
1 teaspoon salt
1/2 tablespoon tamarind concentrate (see note)
1 tablespoons tomato paste
4 cups vegetable broth
1 can coconut milk

First, soak the cashews. This will get them really soft and make them easier to blend really smooth. Place them in a bowl and submerge in water. Set aside for at least an hour. In the meantime prep everything.

Boil the veggies. Place them in a big pot and cover them in cold water. Cover the pot and bring to a boil. Once boiling, lower heat to a simmer (so you don’t overcook the veggies), for about 15 minutes. Potatoes should be fork tender. Drain and set aside.

Next, puree the onion, ginger and garlic. It shouldn’t be completely smooth, some texture is good.

Preheat a skillet over medium heat. Cook the puree in the peanut oil with a sprinkle of salt for about 15 to 20 minutes, until it’s nice and browned.

This is a good time to puree the cashews. Drain them and place them in a blender along with 2 cups vegetable broth. Puree until smooth. This can take up to 5 minutes to get it as smooth as possible.

Back to the puree. Once it’s browned, add the coriander  and saute for about 3 minutes. Add curry powder, garam masala, several dashes fresh black pepper and salt and saute for another minute.

Transfer to the pot you cooked the veggies in. Add tamarind, tomato paste and vegetable broth and bring to a simmer. Now add the coconut milk and the cashew cream. Let cook uncovered for about 15 minutes, it should thicken a little and be really creamy.

 Now fold in the boiled veggies, put the lid on the pot and let it heat through. Taste for salt and seasoning and serve garnished with cilantro if you like.

** I'm not gonna lie to you this took a bit of time. I also had to find an Indian market to buy garam masala and tamarind paste. But all the effort was oh so worth it. So creamy and good.

** This makes a lot of food. We served it over brown rice and for leftovers I ate it over whole wheat couscous.

Wednesday, February 9, 2011

Healthy Comfort Food - even better than the real thing? Spinach Artichoke Dip and Cheesecake

Sometimes you just need something creamy and comforting, or is that just me? The other day I was having kind of a stressful day and then I found this recipe on Iheartwellness.com and she got it from Ohsheglows.com and it was exactly what I needed


Spinach Artichoke Dip


Yield: About 2.5-3 cups
Ingredients:
  • 1 medium sized onion, diced (~2 cups)
  • 1 tbsp extra virgin olive oil
  • 1 piece bread + 1 tbsp earth balance (processed into crumbs) OR 1/4 cup bread crumbs
  • 1 (15oz) can navy beans, drained and rinsed
  • 3 cloves garlic, minced
  • 4 cups packed fresh spinach, roughly chopped
  • 1 can artichoke hearts, drained, rinsed, stems removed, and chopped
  • 2 tbsp nutritional yeast (or cheese if you prefer)
  • 1/4 cup water
  • 1 tsp kosher salt
  • 1/8th tsp dried basil
  • Pinch of red pepper flakes


Directions:
1. Preheat the oven to 400F. Add 1 tbsp olive oil into a very large skillet and add in the 2 cups of chopped onion. Cook about 7 minutes on medium heat until onion is translucent.
2a. Meanwhile, in a food processor, process the bread into crumbs with 1 tsp earth balance. Remove and set aside. Omit this step if you use pre-made bread crumbs.
2b. Now process the drained and rinsed navy beans, 1/4 cup water, 2 tbsp nutritional yeast, 1 tsp kosher salt, basil, and red pepper flakes.
3. Add in minced garlic to skillet and cook for another few minutes on low. Add in your 4 cups of packed spinach and chopped artichoke hearts to the skillet and heat until spinach is wilted over low-medium heat.
4. Add navy bean processed mixture to the skillet and stir until combined. Taste and adjust seasonings if necessary. Stir in 3/4 of the bread crumbs. Pour into an oven safe dish (I used a 4 cup Pyrex dish). Sprinkle on the remaining bread crumbs (and cheese if desired) and cover with foil.
5. Cook, covered, in the oven at 400F for 20 mins. Now remove the foil cover and cook for an additional 10-15 minutes watching closely so as not to burn. Makes 2.5-3 cups. Allow to cool for about 5 minutes and then serve immediately with sturdy chips and crackers. 


** We ate this warmed up with wheat pitas. E said it was the grossest looking thing she had ever seen but I told her she had to try it. She hid a spoonful in her pita and the chanted to herself "There is nothing in there.. There is nothing in there." As she started chewing I could tell she liked it. She said "Mom, this is actually delicious!" A didn't like it and wanted to spit it out. It was a hit with my husband and me.


** It doesn't taste like the spinach artichoke dip you are thinking of but it is still warm and delicious.


** Nutritional yeast is a yeast grown just for it's nutritional value (hence the name!). Vegans use it a lot to create a sort of cheese flavor and it is a great source of vitamin B12. You can find it in health food stores or buy it online. Store it in your fridge.


My husband gave up refined sugars over 3 years ago (I know, he is amazing) and the one thing he has really missed is cheesecake. So this last Sunday I finally tried a raw cheesecake recipe. I found a bunch of recipes on the sunny raw kitchen blog and here is the one I used with my alterations.


Raw Cashew "Cheesecake"

Crust:2 cup of pecans (I get mine at costco - you can also get them anywhere where they sell bulk nuts)
1/2 cup medjool dates ( I get mine at costco)
a dash of salt (use sea salt)

Process the ingredients in a food processor until they are crumbly and will hold together. Press the crust mixture into the bottom of a spring form pan and set aside. ( I used a round cake pan lined with saran wrap and then once the cheesecake was set I just pulled it out.)


Filling:
3 cups cashews soaked for a few hours
1/2 - 3/4 cup honey or agave ( I used 1/2 cup agave)

1/2 cup lemon juice
2/3 cup coconut oil (warmed up in dehydrator or in bowl of warm water)
2 " piece of vanilla bean (or 1 tsp pure vanilla)
1/4 cup of water (or maybe a little more)

Blend everything in a high power blender or food processor until smooth. If using a FP, stop to let it rest a few minutes so as not to stress the motor.


Some of us topped our slices with this raw whip cream:

1 1/2 cups of cashew almond mix - ( I used 1 cup cashews and 1/2 cup almonds)
3/4 cup water
2 Tblsp pure maple syrup
1/ tsp vanilla

** This was soooo good. It was a big hit with everyone. The consistency was divine. The only thing is it doesn't taste like real cheesecake but we all agreed it was still yummy and creamy enough to hit the spot.

** So the moral of the story is you can find healthy alternatives to comfort food. They might not taste exactly the same but they will still be delicious!!